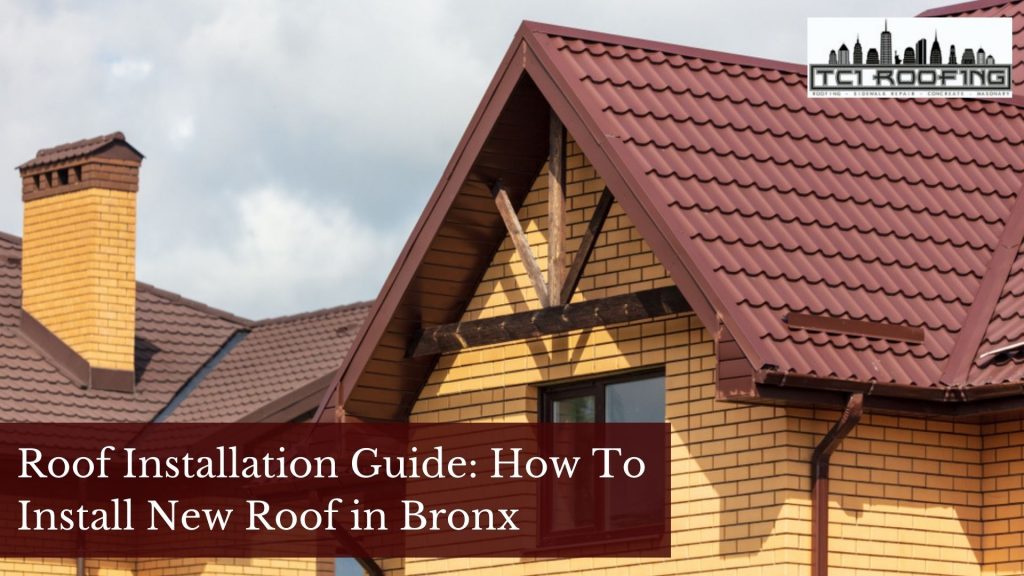
The roof of your home is one of the most important parts. It protects you and your family from the elements, including rain, snow, sun, wind, and hail. If you want to install a roof for your home in Bronx, NY but don’t know where to start, this guide will help!
New Roof Installations
Understanding the roof installation process and phases can help you guarantee your new roof is properly built, whether you’ve hired a professional or plan to do it yourself. Here’s a quick rundown on how to install metal roofing and asphalt roof shingles.
To receive the best pricing, seek roofing price quotes from at least four pre-screened and licensed roof repair and installation experts before beginning your project. To obtain an estimate of how much your roofing installation cost, talk to local contractors like us.
You will better know the process if you know what to expect from your roof installation. So when your roofing contractor comes to install or replace your roof, here’s what to expect.
Remove the Old Roofing
Before the new roofing material can be installed, the old roofing will most likely be removed. Many individuals may layer numerous layers of roofing on top of one another to save time, but too many layers (such as asphalt shingles) can cause the roof to break prematurely. Instead, the old roof should be stopped and rebuilt down to the sheathing.
Evaluate the Roof
Examine the sheathing after removing the previous roof. Roof sheathing is made up of flat panels that serve as structural support and a foundation for roofing materials such as shingles. Look for any damp or troublesome places that will need to be replaced.
Protect Against Ice
Suppose you reside in a region where ice forms for even a portion of the year, an ice and water barrier should be installed around your roof. This substance is applied to the roof’s edges, particularly the bottom edge, which is the most prone to ice buildup. This sticky underlayment attaches to the roof sheathing before being put down with roofing nails for extra strength and stability.
Put on the Drip Edge
The roofing drip edge is installed in two portions during the roof installation. It goes on before the underlayment on the lower portion of the roof and after the underlayment on the sides. First, over the ice and water barrier, install the metal drip edge around the bottom edge of your home. Then, place it flush against the roof and nail it in place.
After you’ve installed the roof underlayment on your home, you’ll need to go over it with a drip edge on the sides, just as you did at the bottom. This stops water from running over the siding’s edge and back underneath it.
Roofing Underlayment Installation
Whether felt paper or synthetic, roof underlayment is saturated in water-repellent compounds and is available in two thicknesses: 15# and 30#. Although the 30# underlayment is twice as durable as the 15#, the synthetic goods outlast both felt paper options. So invest in the more expensive synthetic underlayment if you want the most effective approach to protect your roof aside from the roofing itself; it’s the most convenient and durable alternative.
Roll the underlayment along the roof’s edge and fasten it with cap roof nails every four inches on the outside edges and eight inches in the center. Instead of going through the drip edge, these cap nails should be placed immediately above them.
Roll out one row of roofing underlayment after another, attaching it all with roofing cap nails and ensuring that the lower row overlaps the next row by at least six inches. Next, up to the roof’s peak, overlap the underlayment portions and then install a row straddling the peak so that the underlayment covers both sides of the roof simultaneously.
How to Install Metal Roofing
Decide which type of metal roof you want to be installed before you begin your metal roofing installation process. You or your contractor will then begin by stringing a line from the base of the roof peak to the desired overhang height. The string line was installed to help keep your overhangs even along the roof’s border. Because most houses aren’t completely square, you’ll need to make slight adjustments to the roofing as you go to keep the overhang consistent. However, it will be simple to figure out how to alter the item after the string line is in place.
Make sure your first piece is squarely on the roof, with either the side or bottom edge going straight across the roof. You may not square both sections of the roof, so focus on the one that matters the most to you and take your time. Next, place the roofing so that the side with the higher ridge faces right; this is the side that you’ll lap over with the following piece. To keep water out, use screws with rubber washers to secure the panel to your roof. Install screws one ridge at a time, spacing them out in two-foot vertical rows.
After finishing one ridge, move on to the next and repeat the process, adding the same amount of screws in the same rows. Carry on like this until you reach the last ridge on the panel. Cover the last ridge by slipping the next panel over top of the first. The next panel should be squared up to the roof and screwed down into the overlapped ridge using the same screw pattern. Carry on in this manner until the entire roof is covered in metal roofing.
After you’ve installed all of the roofing panels, it’s time to finish the ridge of the roof. Install a ridge vent and use a waterproof sealant to insulate beneath it. You’ve now completed your roofing installation by securing the ridge cap over the vent. Putting up metal roofing panels or shingles on your own can be a difficult and dangerous task. We recommend finding a local roofing installation near you when looking for metal roof installation.
How to Install Asphalt Shingles
Asphalt shingles are widely regarded as one of the most straightforward roofing materials to install. They are also the most popular roofing kinds due to their low cost and attractive appearance. In addition, installing asphalt shingles is simpler compared to other roof types, which gives homeowners confidence in tackling asphalt shingle installation as a home project. For a step-by-step guide on how to install asphalt shingles on your home’s roof, see our page.
Conclusion
Rubber boots are used to protect exposed pipes and vents during new roof installation. You seal under the flashing using roofing cement when installing on metal roofing. Then, fasten the flashing over the top of the metal with rubber washer roofing screws just as you did with the roofing itself.
Now that you understand the steps involved in installing a basic asphalt shingle or metal roof, you can decide whether to handle the work yourself or hire a roofing contractor to do it for you. Using the form at the top of the page, you can find local roofing contractors and receive free roofing quotations.